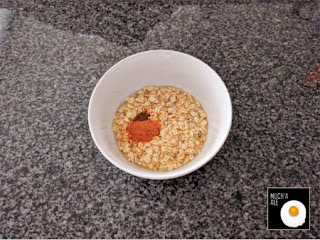
This week’s post has been waiting since October 🙊 and I really wanted to share it because it is very easy to make. I am referring to toasted or roasted pumpkin (or squash) seeds, which I made from the leftovers of my Halloween pumpkins. Español aquí.
Category: video (page 6 of 10)
I am very happy to greet you and share my first post for 2017. My sabbatical came to an end in December and I am back in Lima. I took a small break at the start of the year while I resolved some personal issues (looked for a job), but I am back because I missed sharing these posts.
 |
| Peruvian style fish escabeche |
This post is based on Fish Escabeche from Nicolini’s recipe book and it was prepared with Peruvian paiche fish. Escabeche originates from Spain and has expanded throughout the world, with a strong presence in Mediterranean and Latin American food. Most of its variations consist of meat which has been marinated and cooked with vinegar, and seasoned with peppers. In Peru, Escabeche is a staple during Easter, due to the catholic custom of eating fish in that holiday. It is also prepared with chicken.
Ingredients
½ cup of vinegar
2 large onions in wedges
2 Peruvian peppers in slices
1kg / ½ lb to ½ kilo / ¼ lb of fish in large cuts – we use Paiche
4 ground mirasol peppers
2 garlic cloves, minced or ground
Flour
Oil
Lettuce leaves, washed – we use arugula
Sweet potato, cooked
Eggs, boiled, in halves or pieces
Olives, without seeds
Salt, pepper and cumin, to taste
Preparation
Bring the vinegar, onion and Peruvian pepper together in a bowl. Agregar la hierbabuena, la sal, la pimienta y el comino. Dejar reposar por 1 hora o más.
Wash and dry the fish. Salt and pepper, and cover with flower.
Fry in hot oil. Set aside.
Cook the garlic and mirasol pepper in oil. Add the vinegar, onion and Peruvian pepper.
Boil once. Echar la salsa de cebolla sobre el pescado
Garnish with eggs and olives. Serve over lettuce and with sweet potato. It is recommended to keep this in the refrigerator overnight or for longer.
 |
| Garnish with eggs and olives |
Serves 4 to 6 people, depending on the amount of fish.
“The first time I baked a turkey” was supposed to be on Thanksgiving, in November, but it was delayed. There was a lot of anticipation because the supermarket clerk sold us on the idea (and the turkey) that it would sell out. We did not count on being invited to a Thanksgiving dinner in another city. But the bird still got what was coming to it and I made it during the first week of December.
 |
| Pavo al horno |
What I learned about making a turkey is that you need patience and strength (because it weighs a lot). I began by thanking the turkey for its sacrifice and also toasting with myself to it tasting good. A little bird recommend to me to have a drink while preparing the turkey. Listening to music also helps.
Coming back to the recipe, it is based on the Baked Christmas Turkey entry from my Nicolini cookbook. With all the recipes online, this is a good one for beginners. The outcome was a turkey with a nice flavor and the gravy was like a vegetable cream.
I hope you like it! Happy holidays!
Before you begin
– You can thaw the turkey by soaking it overnight in salted water. After that, keep in in the refrigerator and don’t remove the wrapping until you are ready to cook.
– The baking time depends on the weight of the turkey and if it has stuffing. The turkey I used was 13 lb / 5.8 kg and stuffed, and took 4.5 hours to cook. I used the guide here.
– You can check if the turkey is ready with a baking thermometer or by making small cuts. If you are using a thermometer, the turkey will be ready when the leg temperature is 165 ° F. If you are not using one, the turkey will be ready when the juice that comes from cuts between the chest and leg don’t contain blood and are colorless.
– A lot of recipes recommend using a rack over your tray. You can make one by twisting aluminum into tubes and cross them over the tray.
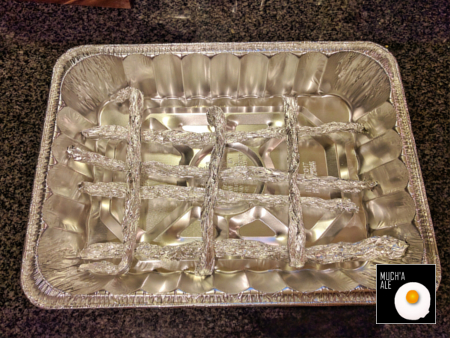 |
| Rejilla hecha con papel aluminio |
– I followed a video from Real Simple for how to carve the turkey. They recommend to remove the wings, legs, and chest (on both sides), and then slicing and / or removing the meat from these pieces. The video is very illustrative.
Ingredients
1 medium turkey, thawed – turkey used was 13 lb / 5.9 kg
3 onions, in slices
4 celery sticks, diced
1 leek, in slices
2 peppers, in slices
150 grs of butter
4 tablespoons of Italian parsley, chopped
4 tablespoons of fresh rosemary – if you don’t have fresh, it can also be dried
1 tablespoon of fresh thyme – if you don’t have fresh, it can also be dried
1 whole garlic, peeled and minced
4 cups of chicken broth – I prepared it by boiling 5 cups water, 1/2 chicken breast, turkey neck, 1 stick celery, and salt
Salt and ground pepper
Stuffing – Some people use bread and vegetables. I used Rice with Noodles and Fungi
2 tablespoons of cornstarch or other starch – to give the gravy consistency
Tools
1 tray
Aluminum foil
Cooking string
Turkey baster
Preparation
Preheat the oven to 350 °F.
 |
| Consider having one drink while you cook |
Place the onion, celery, leeks, and pepper on the tray.
 |
| Onion, celery, leeks and pepper in the tray |
Clean the turkey with water, just as you would with chicken or meat. Remove the neck and giblets, if needed. Cover generously with salt and ground pepper.
Place the turkey over the tray with the chest facing up. Tie the legs together with the string.
Melt the butter and mix it in with the herbs and garlic. Spread the mixture over the turkey. Add the filling of your choice inside the turkey. Pour the chicken broth over turkey.
Cover the tray with foil.
 |
| Cover with foil |
Place in the oven and cook for the required period. Remove the aluminum cover 45 minutes before you finish cooking so that it can brown.
When ready, turn off the oven and let cool for 20 minutes, minimum.
Carefully remove the source from the oven. With the help of the turkey syringe, remove the juice from the source and separate into a bowl. With the help of a carving (s) or other tool (s) remove the turkey to rescue the vegetables on which it was cooked. I used a cord to lift the turkey. Remove the vegetables from the source and separate into a bowl. With a spoon can remove the rice from the inside of the turkey and separate into another bowl.
 |
| Remove the stuffing, juice, and vegetables |
Gravy
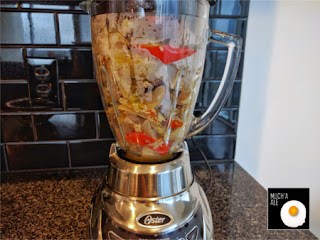
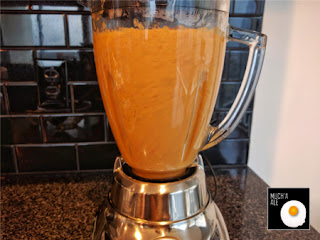
Blend the vegetables. Achieve the desired consistency.
Mix 2 cups of juice and cornstarch. Add the vegetables.
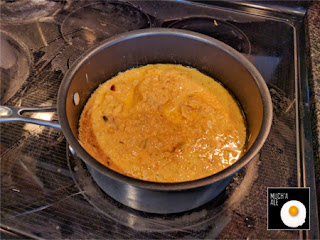
Bring to a boil.
 |
| Cook for 5 to 10 minutes |
Sorry I didn’t have that many photos at the end. My hands were very dirty (from food).
 |
| Enjoy! |
Serves a family of 10 to 15 people. Enjoy!
Welcome December! I obviously love this month because I love Christmas. Some of my best childhood memories took place during Christmas Eve, waiting for midnight to strike with my sister and cousins so we could open the gifts. I remember watching my parents dancing all night, improvising “El Baile del Perrito”, and being a mischievous little girl. Now that I’m thirty years old Christmas is still special. I enjoy Christmas decorations and making gifts without expecting them in return.
 |
| Arroz con fideos y hongos |
Today’s recipe is inspired by the Peruvian dish known as Arabic Rice, from my Nicolini cookbook. I chose it because it’s delicious and a perfect side dish for the holidays. I dare not call it a proper Arabic Rice, because I replaced some important ingredients that I didn’t have (tumeric by cumin) and others that my dinner date did not want to eat (mushrooms).
Ingredients
4 tablespoons butter
250 grs. of capellini noodles
2 cups washed white rice
250 grs. of diced mushrooms
5 cups of hot water, approximately
1 teaspoon cumin
1 teaspoon salt
Preparation
Melt the butter in a large pot.
 |
| Derretir la mantequilla en una olla grande (debí empezar con olla grande) |
Brown the noodles in it. Add the rice and let it also brown a few minutes.
Add the mushrooms, cumin, and salt. Add the hot water and mix them together.
Bring the water to a boil again. When it boils, cook low until the rice is cooked. This could take about 10 minutes, approximately and depending on your source of heat. Keep an eye on the pot so that the water doesn’t dry up and burn the content.
The rice can be served with a meat and accompanied by vegetables.
 |
| Puede ser un buen arroz navideño |
Serves 6-8 people.
Did you know that there are two types of fiber that our body need to be healthy? I am talking about soluble and insoluble fibers. Both come from vegetables and have the characteristic that they can not be decomposed or absorbed by our digestive system. The soluble fiber absorbs and removing the liquids in its path, and insoluble fiber sort of just pushes its way through.
 |
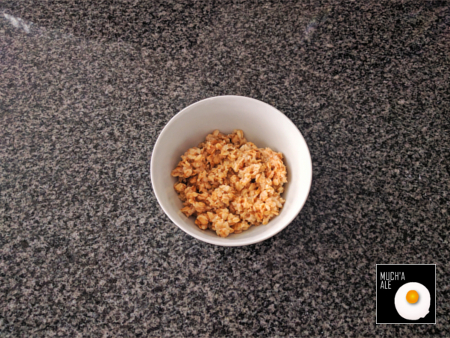
| Tres maneras de preparar avena: microondas, estufa, y remojadas |
Today’s post brings some interesting facts about the benefits of oatmeal as a rich source of soluble fiber, a little below that I’d like to share three ways that you can make it by using a microwave, a stovetop, and soaking them overnight.
It’s good for your heart. Due to its high content of soluble fiber, oatmeal reduces cholesterol levels and the risks of heart disease. The soluble fiber absorbs the low-density fat that is known as cholesterol, removing it from our system (you know how).
Aids against diabetes. The low absorption which is produced by the presence of soluble fiber controls blood sugar spikes that cause type 2 diabetes, and other heart diseases.
Helps with weight control and loss. Soluble fiber also helps us reach or maintain a healthy weight because it makes you feel full, and if you aren’t hungry you won’t overeat.
Supports a good digestion. Finally, as soluble fiber goes through our system absorbing liquids, it protects us against constipation and diarrhea.
3 Ways to make it
These recipes are inspired by overnight oats, considering almost the same ingredients, but using three different ways of cooking it because we don’t always have 8 hours or more.
Microwave
Duration: Preparation time 2-3 minutes
½ cup water
½ cup oats
½ cup milk
¼ cup thick yogurt
¼ fruit (optional) – I used ½ banana
½ teaspoon ground cinnamon
¼ teaspoon ground clove
Honey
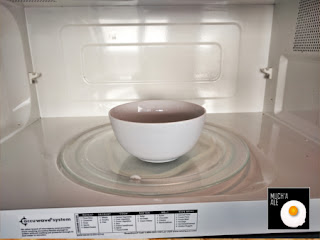
Bring water, oats, cinnamon and clove together in a bowl. Cook in the microwave for 2 to 3 minutes. The water must cover the oats, without surpassing it to avoid spilling inside the microwave. Also, use a container with room for the water to bubble.
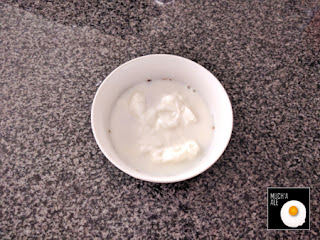
Remove from the microwave and let cool for a minute or more.
 |
| Dejar enfriar un poco |
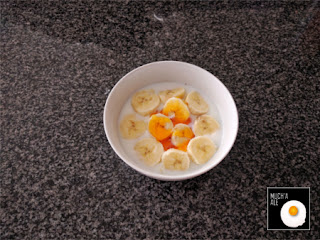
Add milk, yogurt, fruit and honey.
Makes 1 serving
Stove Top
Duration: 10 to 20 minutes
1 cup water
½ cup oats
½ cup milk
¼ cup yogurt
¼ fruit (optional) – I used ½ banana
½ teaspoon ground cinnamon
¼ teaspoon of ground cloves
⅛ tablespoon of salt
Honey
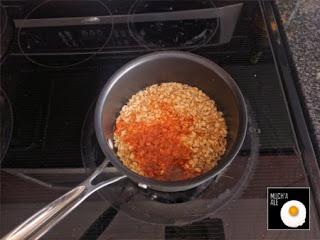
Bring the water, oats, cinnamon, cloves and salt to a boil in a small pot. Cook for about 10 minutes, or until the desired consistency is achieved, stirring occasionally.
Serve in a bowl and let it cool.
Add milk and yogurt. Also, add fruit and honey.
Makes 1 serving
Overnight oats
8 hours
There is a very popular way to make oatmeal by soaking it overnight that does not require cooking. From what I read, it is commonly prepared with three proportions of oats (⅓) , milk (⅓) and yogurt (⅓). It seems like too much yogurt for me, so for this recipe I’m using slightly different proportions.
½ cup oats
½ cup milk
¼ cup thick yogurt
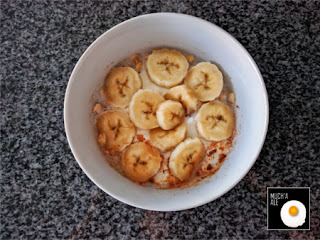
¼ fruit (optional) – I used ½ banana
½ teaspoon of ground cinnamon
¼ teaspoon of ground cloves
Honey
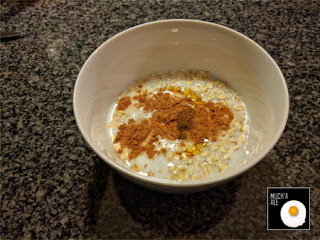
Combine oats and milk in a container. Add cinnamon, cloves and honey.
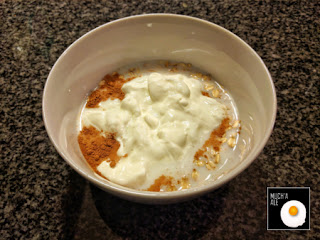
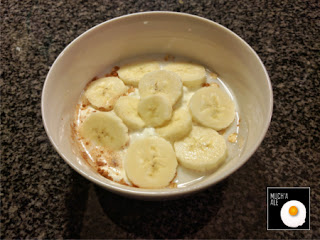
Cover with yogurt. Add fruits now or the next day. Take in mind that what you leave to soak will be soggy the next day.
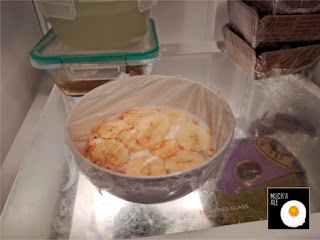
Let it sit in a refrigerator for 8 hours or overnight. You can warm it briefly in the microwave if it’s too cold for you.
 |
Makes 1 serving
Fuente/Source: Mayoclinic & Webmd


