Petite blog for Peruvian wellbeing

Category: recipe (page 10 of 11)

Recipe: Peruvian stuffed causa (Video)

I love Peruvian stuffed “causa”. This is a typical Peruvian dish that can be described as a kind of pressed potato cake with filled layers. Today I will share its recipe and a video guide.


What I really like about this dish is its versatility. I have seen it stuffed with tuna, crab, squid, octopus, and also vegetarian. I’ve tried it with and without mayonnaise, and with coloring other than its traditional bright yellow. As an entree or a main course, the causa can be prepared in many ways.

Today’s entry is thought for a traditional version with chicken and cooked vegetables. Its filling includes chicken, boiled eggs, peas and carrots. However, feel free to make changes to the filling according to your preferences (ripe avocado goes well with everything). Just remember to press the potatoes well and season them generously with yellow Peruvian pepper.

Ingredients
1 – 1.5 kilos of potatoes (preferably yellow)
Yellow Peruvian pepper
Lemon juice
Oil
Salt and pepper
Filling
1 chicken breast
4 hard boiled eggs
1 – 2 cups of cooked and chopped vegetables – peas and carrots
Mayonnaise (optional)

Preparation
Boil the chicken and shred the meat. Set this aside.

Boil the potatoes, and let them cool a little before you peel them. Press them. I strongly recommend using a potato press.

Blend the yellow pepper* or use paste.The amount of chili depends on you, I used two whole peppers.

(*) Yellow peppers can be prepared by cuttting them open and removing their seeds and veins. You can bring them to a boil to remove all of the spice.

Knead the potato with the yellow pepper, and add salt and pepper. Add lemon juice, depending on your preference. Separate this dough into three parts.

Spread ⅓ of the dough on a greased dish with oil.

Cover the spread dough with chicken. I had previously added some drops of olive oil to the chicken for flavouring. You can also mix it with mayonnaise, that never fails.

Cover with ⅓ of the dough.

Cover with slices of boiled egg, and place the boiled vegetables over them. You can add mayonnaise to this layer if you wish. You can see in the photo I added mayo to one half to test which side I preferred.

Cover with the remaining ⅓ of the dough.

You can garnish with cilantro leaves.

Serves 4-6 people

Comments
– Its recommened to use yellow potatos, which are very tasty, but you can use others. I used russet potatoes.
– I’ve learned that the most important thing for causas is to press the potatoes well (one time I just used a fork) and also season them well with yellow pepper so that they can have a lot of flavour, and their yellowish coloring.

Recipe: Peruvian style chili chicken (Video)

Visit here for an updated post.

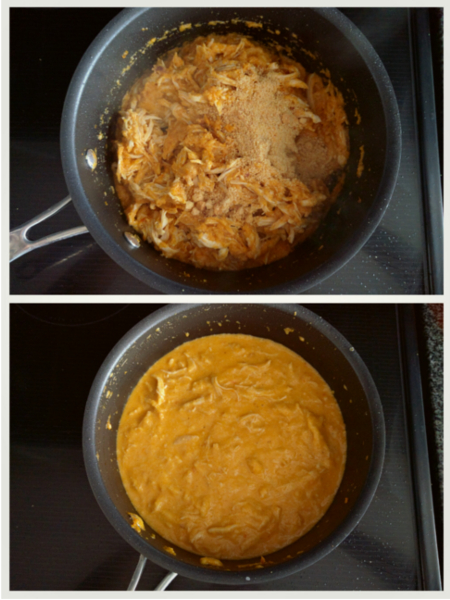
Hello everyone! I am excited to dedicate today’s post to the Peruvian dish known as “ají de gallina”, “ají de pollo” or my bad translation: Peruvian chili chicken. Also, I’m thrilled to share a short video that, I hope, will help with it’s preparation.


The Peruvian chili chicken is a very tasty dish, of a rich consistency and flavor. Its color and flavor is due to it’s peruvian chili pepper ingredient, which also gives it an ever so slight spice. When I made this dish I had really been missing it.

I made the video as test version in response to the bad luck I’ve had when checking out some recipes online. My biggest frustration is finding too many versions and very long videos (though well-intentioned). Consider it a “dummies” version or for beginners.

Ingredients
1 chicken breast
2 tablespoons finely chopped walnuts
1 red onion
2 cloves garlic
1 whole or ground yellow Peruvian pepper
2 tablespoons ‘panca’ Peruvian pepper sauce (optional)
4 slices of bread (white)
Oil
½ – 1 cup fresh milk
3 tablespoons Parmesan cheese
Salt and pepper

Preparation
Boil and shred a chicken breast. Separate the broth.

Remove the crust from the bread and soak in part of the broth.

Chop the onion and garlic. Finely chop the yellow pepper if you don’t have it in a paste. It’s my preference to bring the chopped ingredients together in a blender, for better consistency. You can finely chop them if you do not wish to use a blender.

Sauté this mixture into a greased pot. Add the “panca” Peruvian pepper sauce (optional).

Add the soaked crumbs. Stir the mix over a low heat.

Add the chicken, nuts and cheese. Add milk at the end.

Serves: 4-5 people

I hope you enjoy

Comments
– This recipe is inspired by the cookbook “What to cook today” by Nicolini and my mom’s version. My deviation is that I did not use “mirasol” Peruvian chili (I didn’t have any), I consider “panca” chili optional, and I used fresh milk instead of evaporated milk. Also, I used peanuts because I didn’t have walnuts.
– The consistency should be thick but if it is too solid or watery, add a little chicken broth or soaked crumbs, respectively.
– You can sprinkle some Parmesan cheese and cilantro leaves when you serve. Traditionally, it is served over boiled potatoes and adorned with olives and a slice of hard boiled egg. Also, in Peru it’s served with a lot of rice. I accompanied it with potatoes baked in oil and butter ❤, and steamed broccoli.
– For the English version, in case you are wondering what the difference is between the “gallina” and “pollo”, it’s an age and gender distinction of in the Spanish vocabulary. “Gallina” is a like a hen and has a “pollo” is a very young chick.

Peruvian style menestrone soup

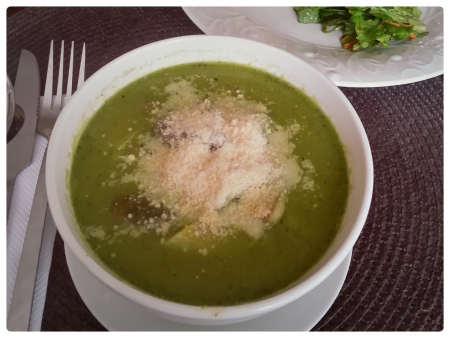
How about a menestrone soup for these cold Lima days? I agreed with my dad when he suggested we make it. As I was preparing it, I realized that it would be too much soup for the three people we were at home. I was very glad when my sister and her husband joined us for lunch.

Receta: Menestrón

Ingredients
500 grams beef for soup – I used a roast
2 medium potatoes, peeled
½  yuca, peeled and sliced
1 corn, sliced
1 piece of squash, peeled
½ leek, washed and sliced
250 gr. beans, peeled
250 gr. lima beans, peeled
250 gr. canute noodles
1 bunch of basil, washed and without stems
1 onion, cut in large pieces
1/2 garlic, minced or ground
¼ cup oil
Salt and pepper
Grated Parmesan cheese

Preparation
Cook the beef in a large pot with 2 liters of water and some salt. Let the meat cook completely. Add more water when required, as it will reduce.

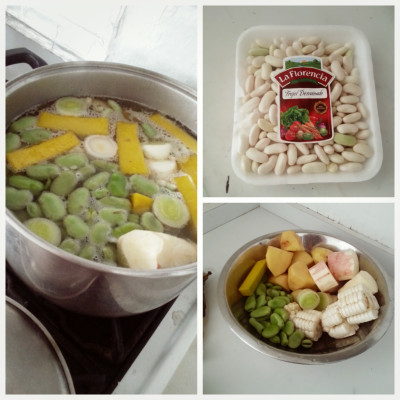
Add the potatoes, yuca, corn, squash, beans, and leek to the pot, until they are cooked. When they are ready, add the noodles and let them cook for the period indicated in its wrapping. The yuca will take longer to cook so you should add the noodles when it about to be ready or when it is completely cooked.

Receta: Menestrón

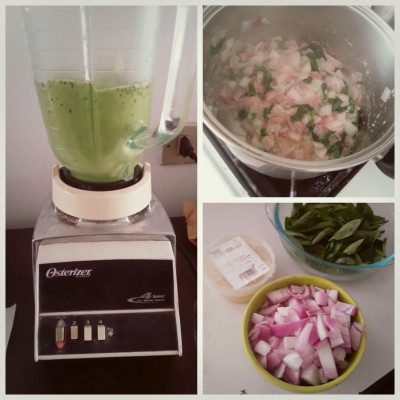
Sauté the onion and garlic a pan or pot with oil. When golden, add the basil leaves and mix them together. Allow this mix to cook shortly after and add it to the blender. Add this mix to the soup and stir it in.

Receta: Menestrón

When serving, garnish with Parmesan cheese.

Serves 4 to 5 people.

Comments

  • The time it takes to cook the beef will depend on how thick it is. Some recipes require about two hours, it took me about 30 minutes.
  • I recommend cooking the potato whole or in large pieces, as it will cook very fast and could fall apart in the pot. You can also remove it from the pot when it is ready and keep it apart until the preparation is done.
  • You can serve the potatoes, yuca and corn separately to avoid overfilling the serving bowls.

Craving: Gelatin and popcorn

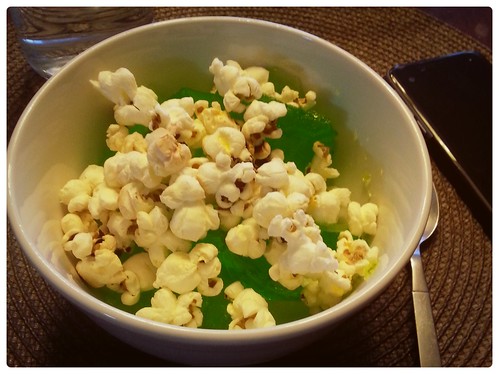
Today’s post is kind of embarrassing because it’s not even a recipe. It is more a craving. This is something I used to eat when I was a little girl at a children’s party, a cup gelatin with salty popcorn.

Antojo: Gelatina y canchita


This was never a natural mixture, the jello cups were served separately from the popcorn but you know strange kids can be and I am no exception. I think I ate this with my cousins and I think it was delicious. So here I am, reliving my childhood.

Ingredients
Your choice of Gelatin – I used Peruvian Universal brand gelatin, lemon-flavored and for 2 liters, with sugar
Pop corn – I made the loose corn with a pot, but you can skip the mess and make it by microwave
Oil
Salt

Preparation
Prepare the gelatin by following the instructions on the package. In my case, I mixed the contents in a bowl with a liter of hot water. Then added four more cups of cool clean water. You can place in the refrigerator in separate bowls or in one big one.

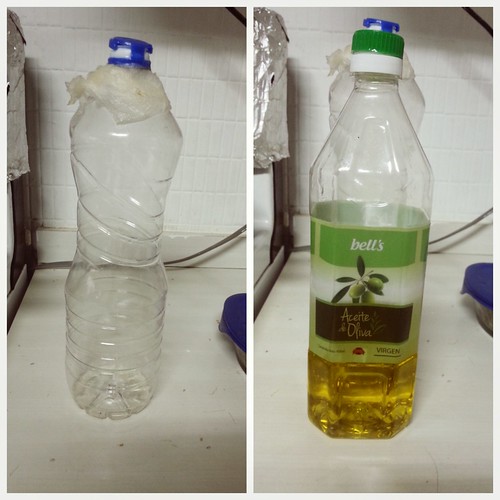
When the gelatin is ready, you can make the popcorn. I ran out of oil before I began, so I used olive oil. I don’t recommend it and I think this should be plan #Z.

Antojo: Gelatina y canchita

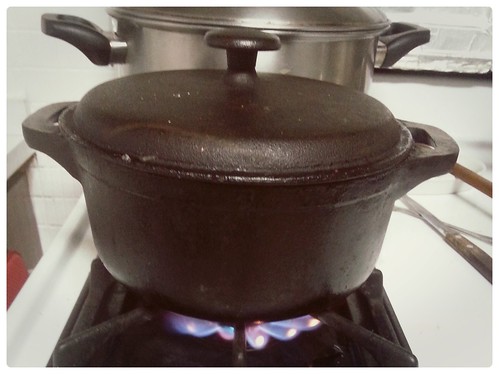
Cover the pot with oil and corn. Use a small amount of corn, only until it covers the surface. Cover the pot with it’s lid. Cook over a medium-high heat.

Antojo: Gelatina y canchita

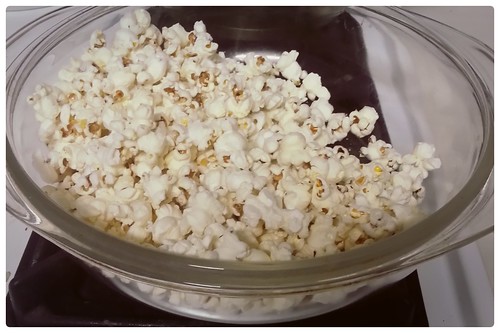
As soon as the corn begins to pop, lower the fire to a minimum. Wait until the corn reduces its popping. Turn off the stove shortly after this.

The first batch came out well and I burned the second burned 🙁

Antojo: Gelatina y canchita

Serve gelatin and cover with popcorn. You can make this for friends. I shared it with my parents while they filled out their crossword puzzle.

Like I mentioned, I’m almost embarresed of this recipe but if I don’t write it I will feel like I did nothing today.

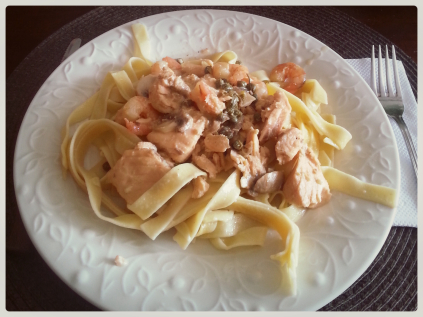
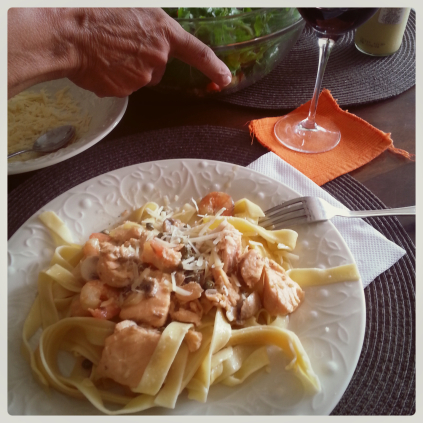
Fettucine with salmon and shrimp

I am very happy to share this post. It is a recipe I was hoping to try for months and that now I can finally share and recommend. If you like pasta and fish, keep reading.

Fettucine con salmón y langostinos


As I mentioned in my previous post, there has been a small revolution in my kitchen since a week ago which began with a plumbing reparation that left us all without hot water (I am grateful for the showers at my gym). This revolution grew to a change of our floor tiles. This went on for various weeks, but (at last) we have our kitchen back.

I was veeery pleased with myself for making this recipe, as I had never prepared pasta and fish. As you may know, Peruvians are very careful about eating fresh fish. The result of this could either go very well or send my family to the ER due to intoxication.

Ingredients
Fettucine
500 gr. fettuccine noodles
500 gr. fresh salmon
400 gr. shrimp  – I used precooked and unshelled shrimp
200 gr. cream
200 gr. mushrooms
1 small onion, minced
1 garlic, minced or ground
Salt and pepper
1 teaspoon sugar
½ cup water
Capers (optional)

Salad
1 arugula, washed and cut
1 red pepper, washed and sliced
Salt and pepper
Olive oil

Preparation
Fettucine
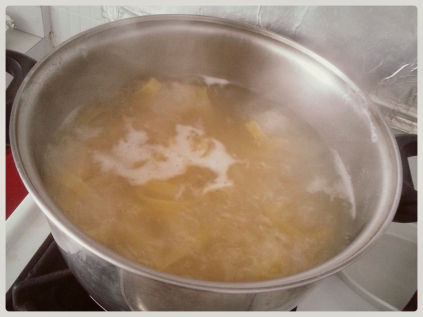
Bring the fettucine to a boil in a large pot with plenty of hot water, and a little oil and salt. Cook for 8 to 10 minutes, adding the pasta to the water after it boils.

Fettucine con salmón y langostinos

Skin and cut the salmon into medium sized pieces. You can read how to skin and cut in this post. Set it apart.

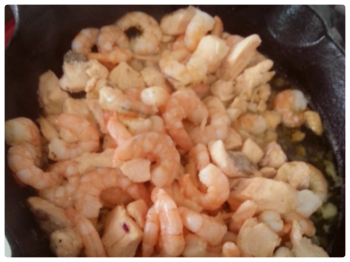
Stir fry the onion and garlic in a large oiled  pan. When golden, add the salmon. When the salmon is cooked or near to cooked, you can add the shrimp. Then, when the shrimp is cooked, add the mushrooms and cream, and stir.

Fettucine con salmón y langostinos

When the fettucine are cooked, strain and return them to the pot. You can add a squirt of oil to prevent sticking.

Bring the pasta and fish sauce together in a pot or wok. Serve the pasta and place the fish, shrimp and mushrooms over each plate so they will not break in the pot. Place capers over the dishes.

Salad
Bring the arugula and pepper together in a bowl. Season with olive oil, salt and pepper.

Serves 5 people. 

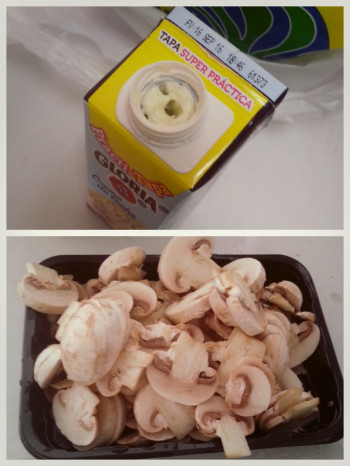
When purchasing your ingredients, be sure they are well sealed. The Gloria milk creme I purchased had its seal broken. My sister ran to another grocery store to aid me and afterwards we were refunded by Wong for the milk, but it’s best to check the quality of your products before you leave the shop.

Fettucine con salmón y langostinos